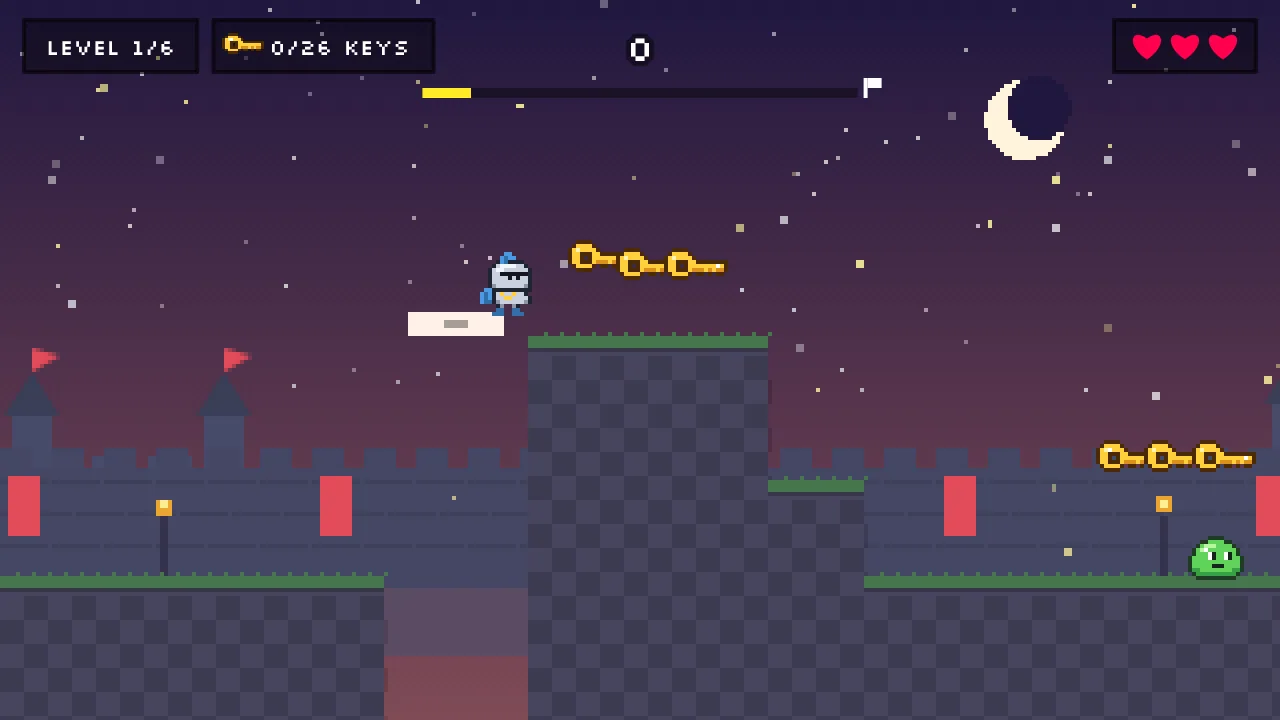
Teach, test, twist
The simplest rule in platformer design is also the most useful. Every new idea in a level appears in three beats:
- Teach: the player meets the idea in a safe place. A single gap over a pit with a soft floor, or one slow enemy in a wide corridor.
- Test: the same idea comes back with a small risk. Two gaps in a row, or the slow enemy near a ledge.
- Twist: the idea is combined with something the player already knows. A gap with an enemy waiting on the far side.
Notice that nobody ever has to read a tutorial. The level itself explains the rules, and the player feels clever for working them out. Introduce at most one new idea per level, and you will rarely overwhelm anyone.
Alternate tension and rest
A level of constant danger is exhausting; a level of constant calm is dull. Good levels breathe. After a tricky jump sequence comes a flat stretch with coins, where players can relax, look around and enjoy the scenery. Rest points also give you somewhere to put a checkpoint, which is the kindest thing you can offer. The rule of thumb: the harder the section, the sooner a checkpoint should follow it.
Make danger readable
- Show the hazard before the player reaches it. Nobody should die from something they could not see coming.
- Use coins as breadcrumbs. A row of coins shows the intended path and arc of a jump, and rewards the brave line.
- Keep the first death cheap. A new player who falls should land at a checkpoint a few seconds back, not at the start of a long level.
- Reward curiosity. A hidden alcove with a heart or a shield makes exploring feel clever.
A three-level plan
The Small size gives you three levels, which is a perfect canvas for the teach, test, twist pattern across a whole game:
| Level | New idea | What the player learns | The feeling |
|---|---|---|---|
| 1 – The courtyard | Jumping and coins | How high and how far the hero jumps | Safe and welcoming |
| 2 – The cellars | Patrolling enemies and moving platforms | When to wait and when to move | Rising tension |
| 3 – The tower | Combining everything, plus a boss | To stay calm under pressure | A proud finish |
Who is playing? Match the difficulty
| Player | Difficulty | Enemies | Extras |
|---|---|---|---|
| A child of five to seven | Easy | Few | Double jump to forgive mistakes, friendly theme |
| A casual adult on a phone | Medium | Normal | Touch controls, checkpoints |
| A friend who loves games | Hard | Many | Double jump and a boss at the end |
What you control, and what the engine does
You do not place tiles by hand. Our engine builds each level from a seed using strict rules, so gaps and heights always stay within what the hero can jump, and every level can be beaten. Your design thinking shows up in the brief instead: the theme, the hero, what is collected, which enemies appear, how hard the game is, whether there is a double jump and whether the last level ends with a boss. If a level feels off after your test run, ask for a change via chat, for example “make the game a bit easier”, “turn on the double jump” or “add a boss at the end”.
Size and price
Mini gives you one level (50 credits base price), Small gives you three (125 credits), and Medium gives you five to eight levels with power-ups (315 credits). Touch controls for phones cost 10 credits extra. For a first project, three levels is a lovely size: long enough to tell a story, short enough to finish in one sitting. You will find the details on our platformer maker page.
Mistakes first-time designers make
- Starting too hard. The first thirty seconds decide whether anybody keeps playing.
- Too many ideas at once. A level with five new mechanics teaches none of them.
- Long stretches without a checkpoint. Dying 90 seconds of progress away feels unfair.
- No reward for the brave line. If the safe path and the bold path pay the same, nobody takes the bold one.
- Forgetting the ending. A final screen with a message turns a level into a gift or a story.
If you would rather test the idea in an even smaller format first, our guide on how to make a game without coding shows how to go from one sentence to a shared link in minutes.